Being an efficient and productive artist means you can provide a high quality, good value service to your clients.
And if your anything like me, the thought of pre-planning gives me visions of excel spreadsheets, and some time scheduling nonsense! But thats not always the case, especially with motion graphics and animation. The planning stages can be awesome
Spending some time in pre-production allows you to gain focus, develop ideas and get those creative juices flowing! (mmmm creative juices!!!)
So get used to planning a head, and I'm sure both you and the standard of your work will benefit, heres how -
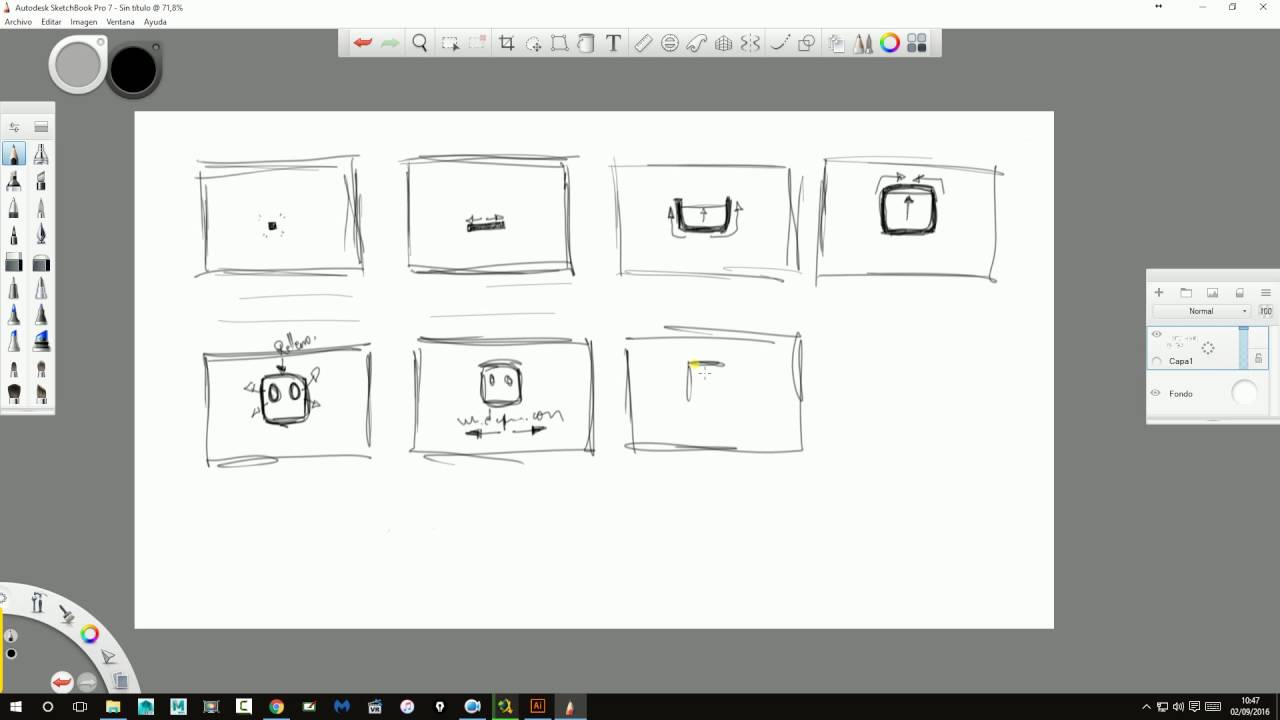
Start with a storyboard
As animators and designers we need to realize the importance of starting the project with a storyboard.
Before you jump into After Effects and start aimlessly throwing key frames around , take a minute to put together some sketches and ideas on how the animation would flow.
You don't necessarily need to be Davinci, just good enough to think on paper, showing what happens and when.
I suck at drawing, but taking the time out to doodle the key stages of an animation with notes explaining camera moves, motions and anything else will really help you down the line.
Save time by adding this step to your workflow and you can avoid wasting time or going on a tangent to deliver something other than what you originally intend to create.
Not only that, but storyboards are a great resource for showing the client your thoughts and getting any editing done early on.
The bottom line, storyboards save you time, improve your work and keep you on track.
Name your work files accordingly
A production consists of graphics, imagery, effects, audio files and any additional/explanatory text files blah, blah, blah.
You'd be a fool to dump all of these files in one folder (...Shut Up! I know I did it that one time I was swamped!) .
You need to separate your files into appropriate folders that make sense to you and anyone else.
I'd recommend going for the following folders as a basic set up:
Comps - Contains your After Effects or C4d Compositions saved in numbered versions
Assets - Your logos, graphics, illustrations and other bits and bobs for the project
Audio - Your music track, sound fx, and voice overs - feel free to further sub categorize of course!
Samples - A place to output your low res samples passed back and forth to your clients or team.
Output - A place to output your final renders, before sending off to your lovely clients
Now naming conventions, don't be a sucker, sucker!
Awesome_Stuff/MotiongraphicsprojectFinal23withaudionewfinal01ohwhattheheckanotherchange__really!ok_final_output.aec is not an appropriate name for any project file.
Try to apply a few simple rules to make sure your project structure makes sense
My go to method is
["Project name"]_["Shot Name"] (if applicable)["Version Number"]
eg.
AwesomeCatAnimation_FluffyWindowJump_v27
That's it, of course come up with your own conventions and please do post them in the comments below, I'd love to hear your suggestions.
The main thing is make sure it makes sense to what the project contains, and what version it is, no one likes any more unwanted surprises in AdobeAfter Effects - the stupid sheep error noise is bad enough!
Pre-rendering
This is a great technique you may use time to time, After Effects tends to gobble ram up like the cookie monster eats cookies. Because of that things can get a little sluggish in bigger comps. Save time and avoid frustration by rendering out and re-importing any elements that are complete and no longer need adjusting (eg. Particular layers).
This technique can really help avoid getting frustrated down the line and ensure your project is moving as fast as possible.
To play it safe, just keep your original layer in the comp and hide it when you drop in the pre-render.
As an output format for pre-renders I'd recommend going for Quicktime Movies with png encoding, its visibly lossless and allows transparency so pretty darn helpful.
This article was originally published by Motion Stacks.


